Nourish Your Skin: A Natural DIY Recipe for Moisturizer for Dry and Flaky Skin
MOISTURIZERS
12/31/20252 min read
Introduction
Dry and flaky skin is not only uncomfortable but can also affect one’s confidence. Fortunately, you can nourish and rejuvenate your skin with natural ingredients right from the comfort of your home. This blog will guide you through a simple DIY recipe for a moisturizer specifically crafted to combat dry skin.
Ingredients and Their Benefits
Before diving into the recipe, it’s essential to understand the role of each ingredient. Below is a breakdown:
Coconut Oil (1/4 cup): Known for its exceptional moisturizing properties, coconut oil forms a protective layer over the skin, locking in moisture and combating dryness.
Almond Oil (1/4 cup): This oil is rich in Vitamin E, which is beneficial for skin repair and acts as a natural anti-inflammatory agent.
Shea Butter (1/2 cup): Shea butter is a powerhouse of fatty acids and vitamins. It provides deep moisturization and acts as a barrier to protect from the elements.
Essential Oil (10 drops): Opt for lavender or chamomile essential oils for their calming fragrance and soothing qualities that promote skin health.(Essentail oils may cause skin irritation or allergic reactions if you have sensitive skin)
Honey (1 tablespoon): A natural humectant, honey draws moisture to the skin while its antibacterial properties help to keep the skin clear and hydrated.
DIY Moisturizer Recipe
Now that we’ve covered the ingredients and their benefits, let’s get into the preparation process:
Begin by melting the shea butter in a double boiler or microwave until it becomes a liquid form.
Add the coconut oil and almond oil to the melted shea butter. Stir the mixture until everything is thoroughly combined.
Remove the mixture from heat and allow it to cool slightly. Then, add in the honey and your chosen essential oil, stirring continuously to incorporate.
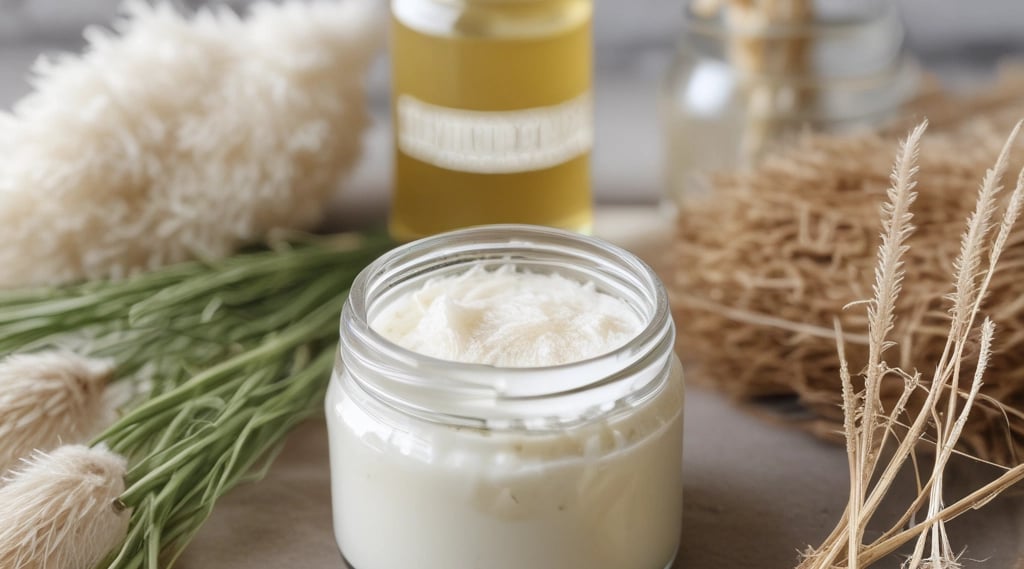
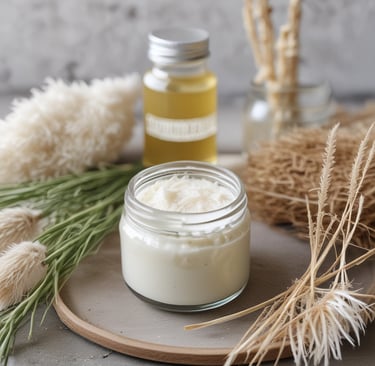
Once cool, whisk or blend the mixture until it takes on a fluffy texture. This can typically take around 5-10 minutes.
Transfer your moisturizer into a clean, airtight jar for storage. It can be kept at room temperature and should last several weeks.
Conclusion
Using this DIY moisturizer can significantly improve the hydration levels in your skin. By opting for natural ingredients, not only do you avoid harsh chemicals, but you also support your skin’s health in a holistic way. Remember to perform a small patch test before applying any new product to ensure you do not have an allergic reaction. With consistent use, you’ll notice a remarkable difference in the softness and overall appearance of your skin.
As an Amazon Associate i may earn from qualifying purchases. See Full Disclosure